A WordPress theme determines the design of your website, including colors, fonts, and layout. When you choose a different theme, you change the look and feel of your website without changing the content. With WP Toolkit, you can install and manage themes.
Installing Themes
Using WP Toolkit, you can install themes in one or all WordPress installations of the subscription. Features:
- Search for themes in the WordPress.org Themes Repository and install them.
- Install themes uploaded by the Plesk Administrator.
- Upload custom themes. This is useful if you cannot find a suitable theme in the WordPress.org repository or need to install your own theme.
To install themes on a specific WordPress installation:
-
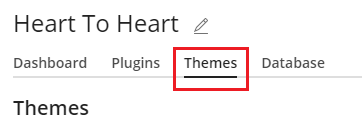
Go to WordPress, navigate to the "Themes" tab on an installation card, and click Install.
-
Search for themes and click Install next to the theme you want to install. By default, a newly installed theme is not activated.
To install themes on all WordPress installations of the subscription:
-
Select the desired subscription.
-
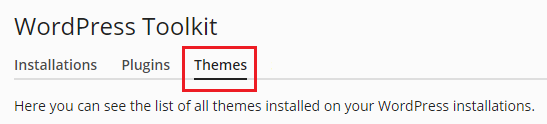
Go to WordPress > "Themes" tab and click Install.
-
Select the themes to be installed and click Select Websites.
Please note: If you select one or more themes and then perform a new search without installing the selected themes, the selection will be reset.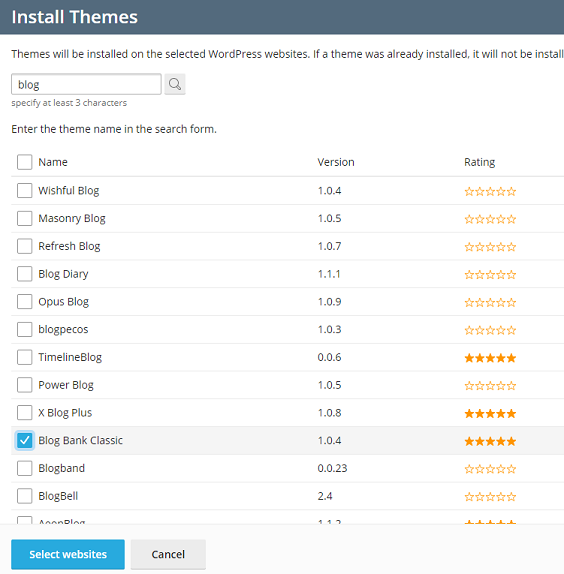
-
Select the websites on which to install the themes and click Install.
To install themes uploaded by the Plesk Administrator:
- Go to WordPress > "Themes" tab.
- Click Install next to a theme marked with the
 symbol. If this symbol is not displayed, it means the Plesk Administrator has not uploaded any themes.
 - Select the WordPress installations on which you want to install the theme.
- By default, themes uploaded by the Plesk Administrator are immediately activated. You can prevent this by deselecting the "Activate after installation" checkbox.
- Click Install.
To upload a theme:
-
Select the desired subscription.
-
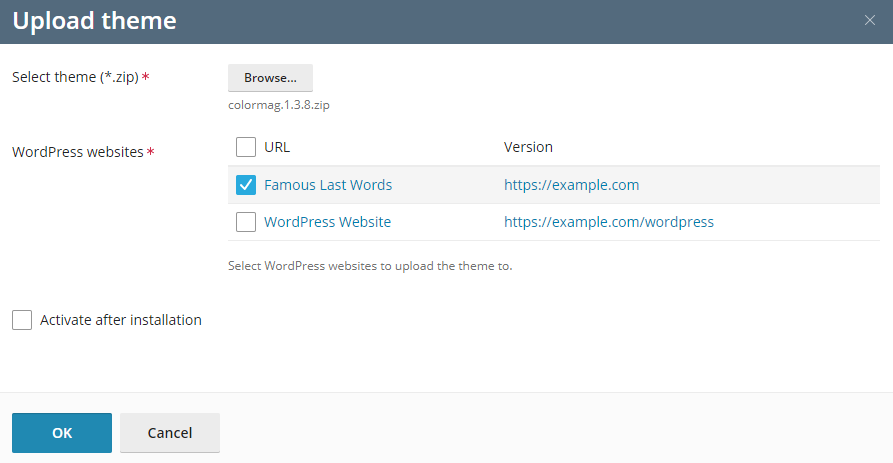
Go to WordPress > "Themes" tab and then click Upload Theme.
-
Click Browse... and go to the location of the ZIP file containing the theme you want to upload.
-
Select the WordPress installations on which you want to install the theme.
-
By default, a newly uploaded theme is not activated. You can activate it by selecting the "Activate after installation" checkbox.
-
Click on OK.
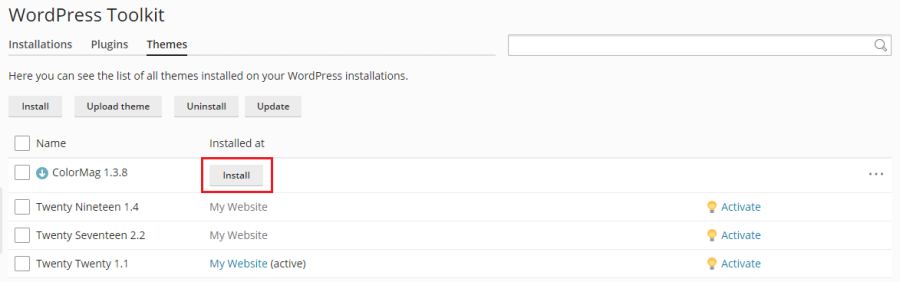
To install an uploaded theme:
-
Go to WordPress > "Themes" tab.
-
Next to a theme that you have uploaded, click on Install.
-
Select the WordPress installations where you want to install the uploaded theme.
-
By default, a newly uploaded theme will be activated. You can prevent this by deselecting the "Activate after installation" checkbox.
-
Click on Install.
Activating Themes
You can activate themes that are installed on a specific installation or on all installations of a subscription. A WordPress installation can only have one active theme at a time.
To activate a theme for a specific installation:
- Go to WordPress and access the "Themes" tab on an installation card.
- Under "Status", select the theme you want to activate. The previously used theme will be automatically deactivated.
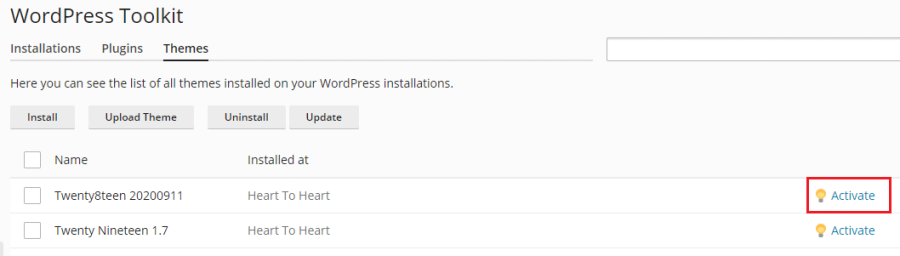
To activate a theme for all installations belonging to the subscription:
-
Go to WordPress > "Themes" tab.
-
Next to the theme you want to activate, click on Activate.
Updating Themes
If a theme needs to be updated, you will see the "Updates" option next to the theme on the "Themes" tab of the installation card. Updates are available not only for free themes but also for paid themes that can be updated through the WordPress admin dashboard as usual.
You can proceed as follows:
- Update themes for a specific installation. For more information, see the Manual update guide for WordPress installations.
- Update themes that exist on multiple installations.
- Configure automatic updates for themes. For more information, see the Automatic update guide for WordPress installations.
To update themes on multiple installations:
- Go to WordPress > "Themes" tab.
- Click "Update to version …" next to the theme you want to update. To get more information about the update, click on "Changelog". You will be redirected to the theme page on wordpress.org.
- Click on Yes.
Remove themes
You can remove themes from a specific installation or from all installations of a subscription.
To remove themes from a specific installation:
- Go to WordPress and access the "Themes" tab on an installation card.
- Click on the icon
 next to the theme you want to remove. If you want to remove multiple themes, select them and click Remove.
 - Click on Yes.
To remove themes from all installations of the subscription:
- Go to WordPress > "Themes" tab.
- Select the themes you want to remove, click Uninstall, and then click Yes.